When it comes to maintaining your 3D printer, one of the tasks you might encounter is removing and replacing the PTFE tube. The PTFE tube, also known as the Bowden tube, is a critical component for feeding filament into the printer’s extruder. Over time, it may require replacement due to wear and tear. In this guide, we will walk you through the steps of removing a PTFE tube from AMS, ensuring your printer continues to function smoothly.
Before diving into the removal process, let’s take a moment to understand why the PTFE tube is so important.
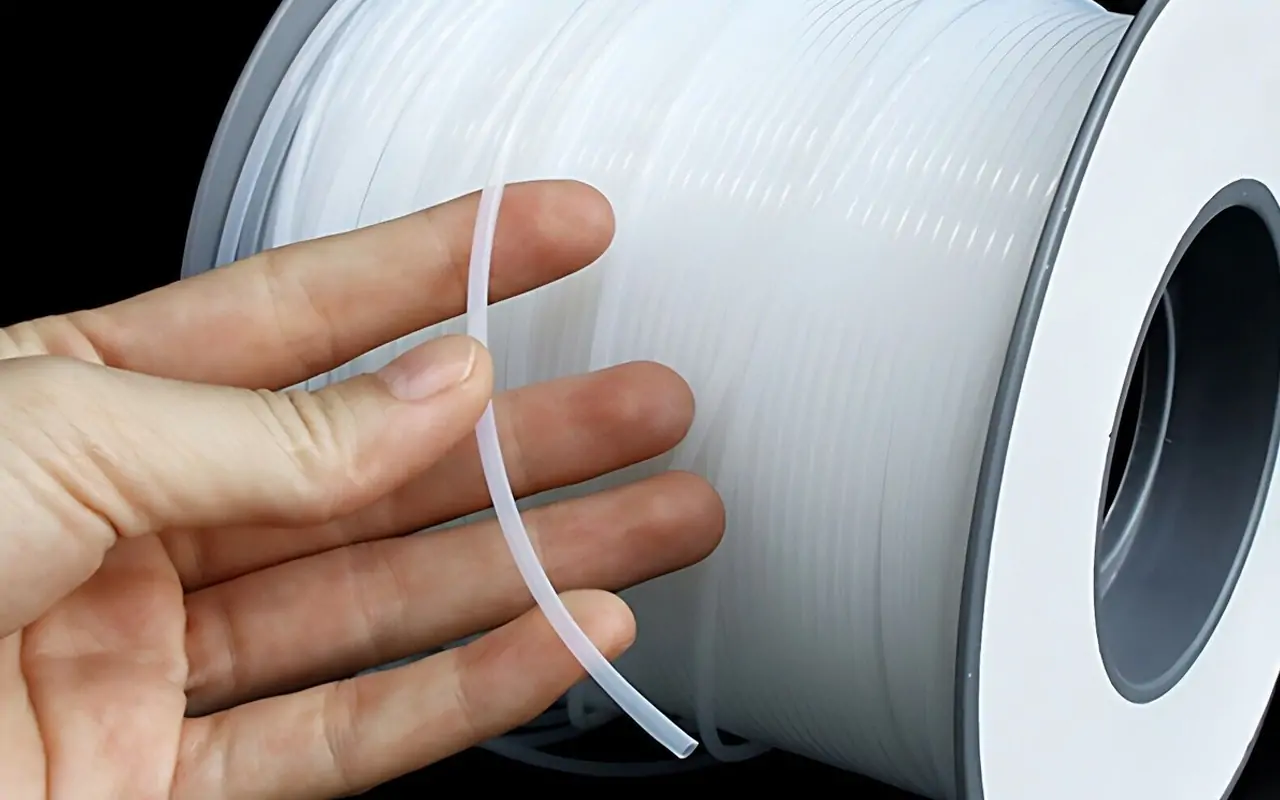
The PTFE tube is a thin, flexible tube that guides the filament from the spool to the extruder. It plays a crucial role in ensuring that the filament is delivered smoothly, reducing friction and preventing jams. This component is especially important in Bowden-style 3D printers, where the extruder is separated from the hotend.
Over time, the PTFE tube can become worn out due to constant friction and heat. A damaged or clogged PTFE tube can lead to printing issues, such as poor filament feeding, under-extrusion, or even complete blockages. Replacing it ensures optimal performance and print quality.

Before you begin, gather the necessary tools and materials to make the process as smooth as possible.
- PTFE Tube Removal Tool: A specialized tool designed to easily disconnect the tube from its fittings.
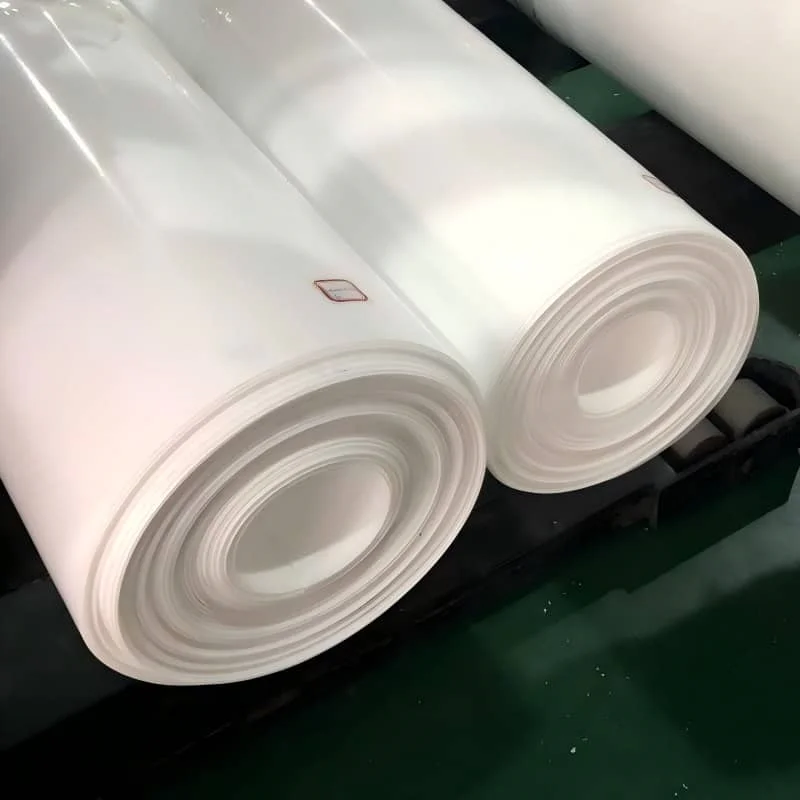
- Replacement PTFE Tube: Ensure you have the correct diameter and length for your printer model.
- Wrench or Pliers: To aid in loosening any tight fittings.
- Clean Cloth: To wipe down components and keep your workspace tidy.
Step-by-Step Guide to Removing the PTFE Tube

Now that you’re prepared, let’s move on to the actual process of removing the PTFE tube from your AMS setup.
Step 1: Power Off and Unplug the Printer
Safety first! Begin by turning off your 3D printer and unplugging it from the power source. This minimizes the risk of electric shock and accidental movements of the printer’s components during the process.
Step 2: Access the PTFE Tube
Locate the PTFE tube within your printer setup. In most AMS configurations, the tube runs from the filament spool holder to the extruder. Depending on your printer model, you may need to remove a cover or panel to access the tube.
Step 3: Loosen the Fittings
Using the PTFE tube removal tool, gently press down on the tube fitting to release its grip on the tube. If the fitting is particularly tight, use a wrench or pliers to carefully loosen it. Be cautious not to apply excessive force, as this can damage the fittings or surrounding components.
Step 4: Remove the PTFE Tube
With the fittings loosened, carefully slide the PTFE tube out of its housing. Take note of the tube’s orientation and path, as you’ll need to replicate this when installing the replacement tube.
Step 5: Inspect and Clean
Once the PTFE tube is removed, inspect it for any signs of damage or wear. If the tube is clogged or damaged, clean the surrounding areas with a clean cloth to ensure that no debris interferes with the new tube installation.
Installing the Replacement PTFE Tube
Now that the old tube is removed, it’s time to install the new one.
Step 6: Measure and Cut the New Tube
Using the removed PTFE tube as a reference, measure and cut the new tube to the same length. Ensure the cut is clean and straight to prevent any fitting issues.
Step 7: Insert the New Tube
Slide the new PTFE tube into the designated path, following the same orientation as the old tube. Ensure that it is securely seated within the fittings.
Step 8: Secure the Fittings
Tighten the fittings by hand, ensuring they are snug but not overly tight. Using the PTFE tube removal tool, press down on the fitting to lock the tube in place.
Step 9: Test the Setup
With the new PTFE tube installed, plug in and power on your 3D printer. Perform a test print to ensure that the filament feeds smoothly and that there are no obstructions.
Troubleshooting Common Issues

If you encounter any issues during the process, here are some common problems and solutions:
- Filament Jamming: Ensure the tube is not kinked or bent, as this can impede filament flow.
- Loose Fittings: Double-check that all fittings are securely tightened to prevent air leaks or filament misfeeds.
- Uneven Cuts: Recut the tube if it was not cut cleanly, as uneven edges can cause fitting issues.
Conclusion
Replacing the PTFE tube in your AMS setup is a straightforward process that can significantly improve your 3D printer’s performance. By following these steps and using the right tools, you can ensure smooth filament feeding and maintain high-quality prints. Remember to perform regular maintenance on your printer to catch any issues early and keep your machine running at its best.
With this guide in hand, you are well-equipped to handle PTFE tube replacement with confidence. Happy printing!